Repairing an iMac G3 CD drive
I, like many others, have an iMac G3. It's a very iconic computer and I just love how it looks.

The only problem is that the CD drive doesn't eject CDs. It sounds like it wants to eject the disc, but it just stays put.
I realised that I needed to take the drive apart to try and clean it up. My first instinct was that it was an old belt.
The disassembly
The first thing to do was turn over the machine onto a soft towel, remove the VGA door, and remove the screws on the bottom.

Next, I removed the shielding with the 4 screws.

Before removing the caddy from the chassis, I needed to remove the RAM because it's in the way.
I then removed the drive caddy from the chassis with the 2 screws near the front, then removed the HDD from the caddy with the 2 top screws.

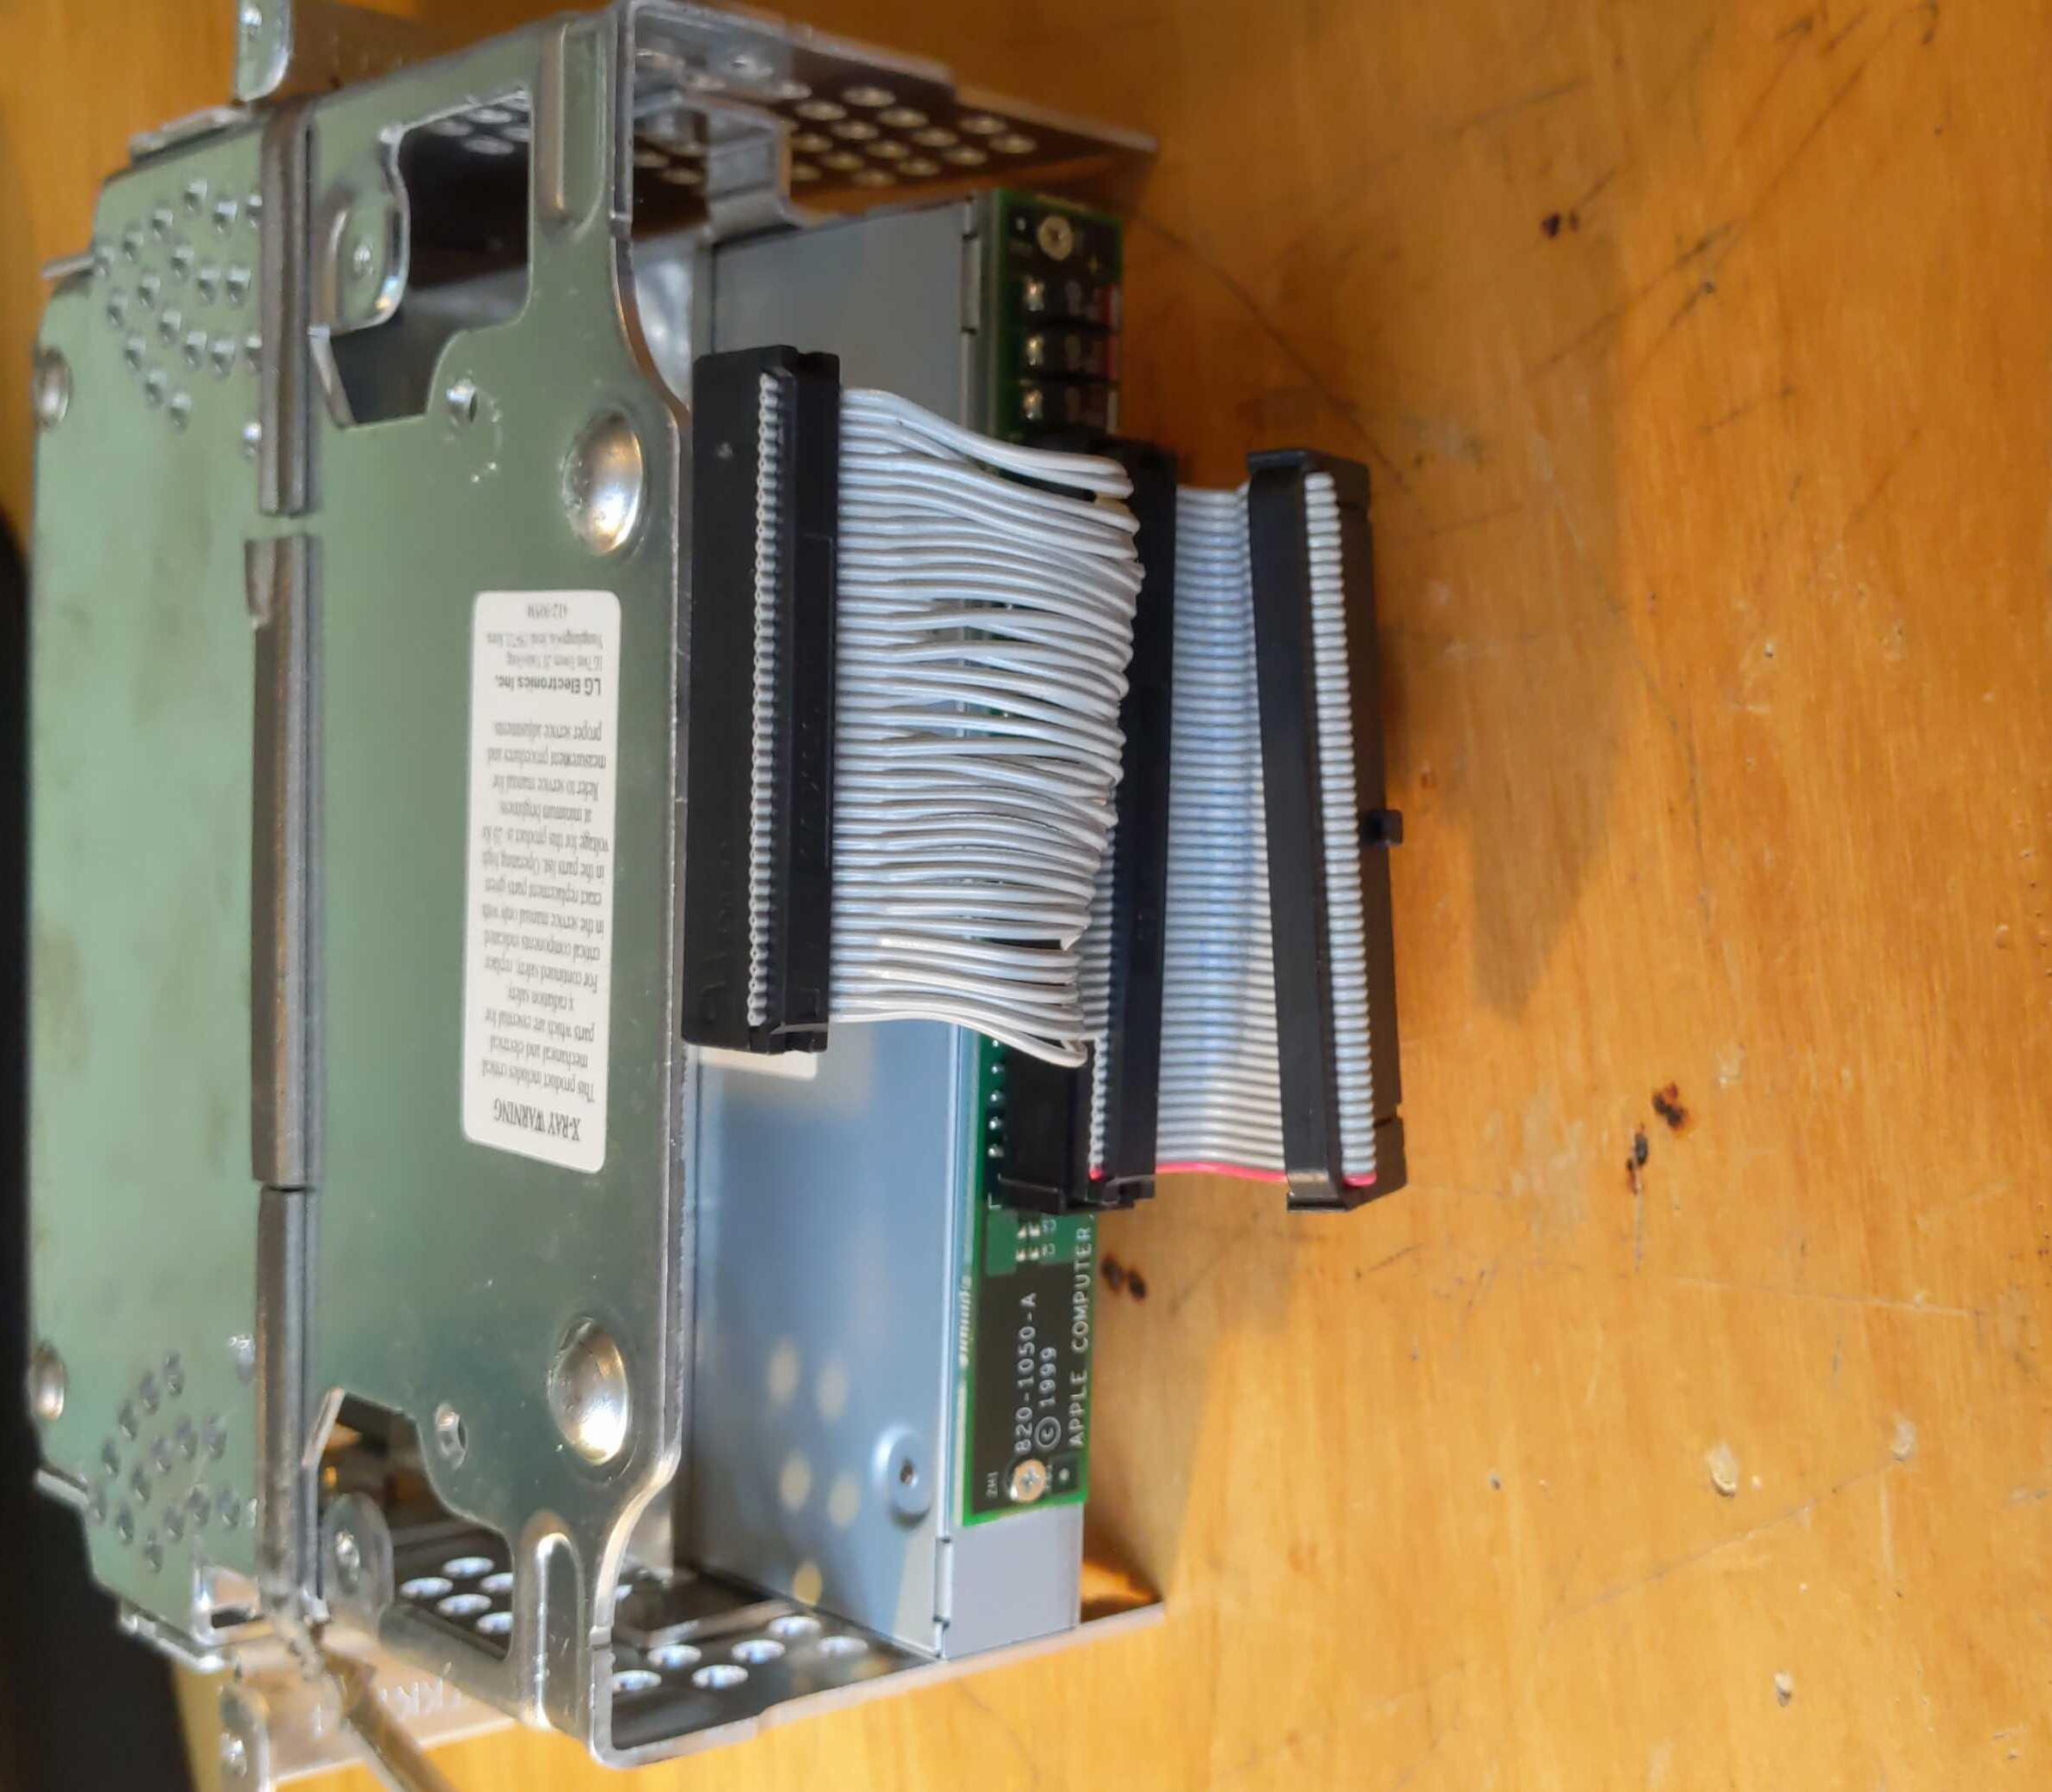
I then unscrewed the 4 screws holding the drive into the caddy and pulled out the drive.

I removed the drive holder from the drive, then removed the top of the drive with 2 tiny brass screws, so I could see the internals of the drive.

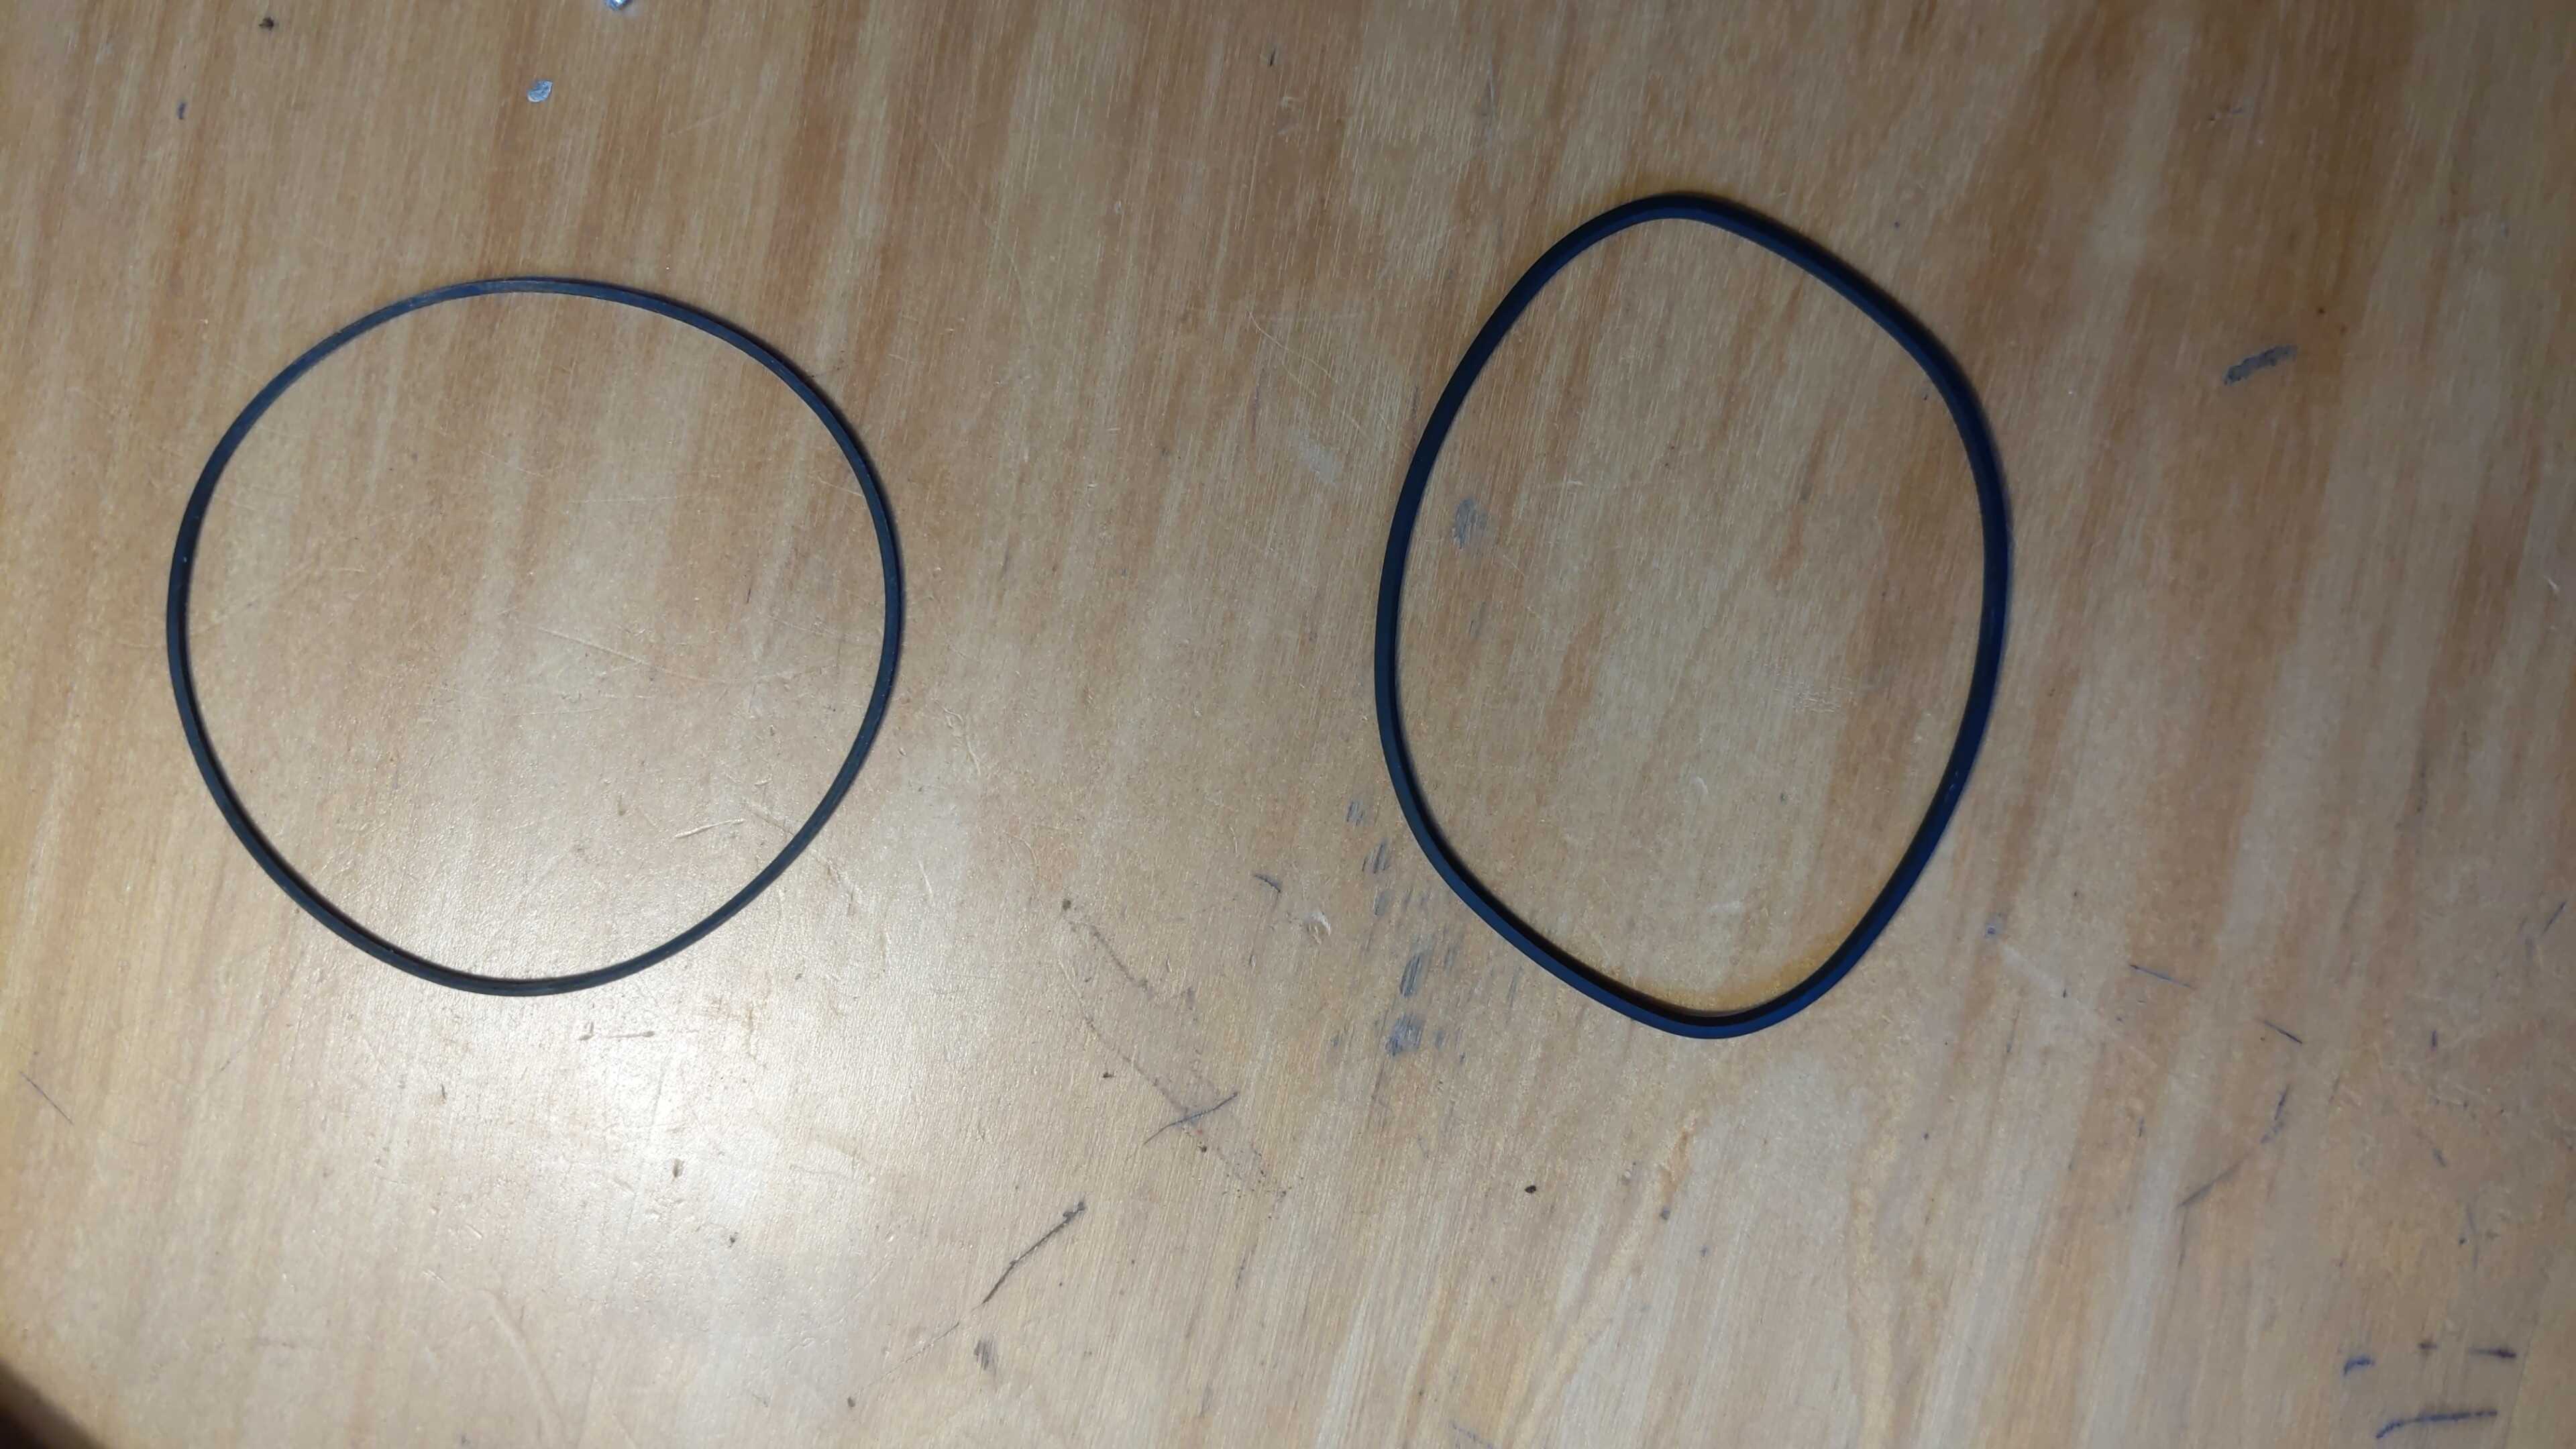
Next, I removed the belt that drives the eject rollers. It seemed to be in fairly good condition, but just in case I replaced it with a new belt I bought from Ebay in a bag of assorted cassette player belts.
Since the belt looked fine, I needed to have a look at the eject rollers in case they had perished. I unhooked the 2 tiny springs at the front of the drive and removed the disc guides from the drive (which was quite hard and required a lot of wiggling).

As you can see in that picture, the drive rollers were filthy, but not perished luckily. I used rubbing alcohol on a cotton bud to clean the rollers, then reassembled the drive, remembering to reattach the springs.
Getting the drive top on was a bit tricky, as the drive guide needed to be in the right place when the cover was put on, and if it was not then it blocked discs from being inserted.
I reassembled the computer in a minimal fashion for testing:

Here is a video of me testing the drive:
And it worked! I then reassembled the whole computer in the opposite way to how I assembled it.
Here is a video of it working after being assembled completely. The drive still seems like it's not quite happy but I think it just needed it's gears to be greased, which I should have done at the time, but as it works for now I'll leave it.